 Using these patterns I shaped the keel on the chosen locations as this photograpy illustrates:
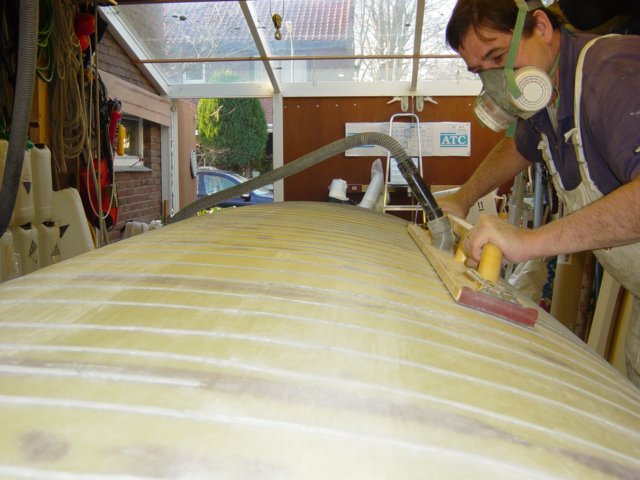
Then drawing lines with a marker on these locations and finally: I got to use my long-board! I made the long-board from a board made for concrete fairing (12 x 120 cm) and then made brackets to hold the 60 grit paper. It is made from some kind of foam and weighs nothing. I may modify it further to look like Henny's board to be able to connect the vacuum cleaner.
Anyway, with the long-board I faired down the areas in between the pre shaped areas until the marker lines was gone. This made a very fair curve and it is reproducable for the next float. I did not come down to the inner laminate at any position but it was quite close on the three last feet.
 The keel profile seen from the bow. I have a few obvious low spots and I know it comes from ending the battens on a sub optimal position, leaving the last piece of the batten too straight. I will fill in the most obvious low spots, but otherwise focus on not leaving any high spots before laminating the outside. I see that Martin did quite a lot of filling and fairing prior to the lamination but my experiences today tell me it is quite difficult to fair well when you combine bog and H60 Divinycell and I will thus keep most of the bog outside the outer laminate.
 Keel profile seen from the stern. It really looks like a fast shape!


